
August 7, 2026
SLA printing step by step: from 3D model to finished part
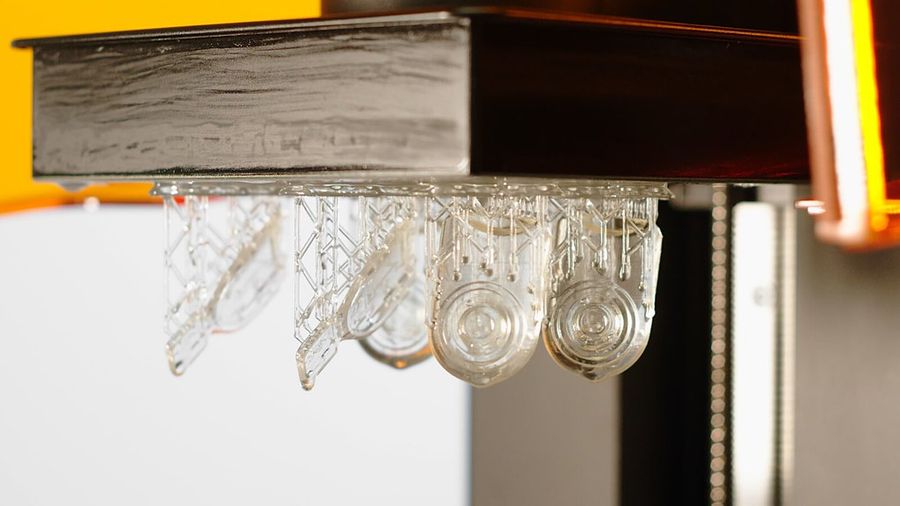
Unlike FDM, where a part is done the moment printing stops, SLA/LCD printing is a sequence of several mandatory steps. Each one takes time and its own consumable, so it's worth understanding the whole path, not just the print itself.
1. Preparing the model in the slicer
The model is angled (usually 30-45°) to reduce contact area with each exposed layer and lower the risk of peeling off the plate. Supports are added next — without them, overhangs and fine details either fail to print or tear off when separating from the FEP film. How supports are placed, manually or automatically, directly affects how much cleanup follows.
2. Print settings
Two key parameters: layer thickness (usually 0.025-0.1 mm, thinner for more detail) and exposure time per layer (depends on the resin and screen power, typically 2-8 seconds). The first layers are exposed longer than usual for strong adhesion to the plate.
3. The print itself
The printer raises the build plate layer by layer, exposing each one through a UV screen or laser. Unlike FDM there's no moving nozzle — that's exactly why SLA/LCD gives a smoother surface with no visible layer lines.
4. Removing the part from the plate
The finished part is pried off with a scraper — it already holds its shape but stays tacky from uncured resin on the surface. Gloves are essential: liquid resin is toxic until it's fully cured.
5. IPA wash
The part is washed in isopropyl alcohol (or water for water-washable resins), typically in an ultrasonic bath for 3-5 minutes. This removes leftover liquid resin from the surface — skip it and the part never fully hardens and stays sticky.
6. Drying
After washing, the part needs to fully dry off any IPA or water before UV curing — leftover liquid on the surface causes unevenness and matte spots during exposure.
7. UV curing
In a UV station (or sunlight, though less predictable), the part is exposed further to reach final strength — usually 5 to 30 minutes depending on the resin and station. This is the last step where the part actually turns from "green" to finished.
8. Support removal and finishing
Supports are clipped or cut off, and contact points get sanded. Painting or extra polishing can follow, same as with FDM parts.
How much time this all takes
Beyond the print itself (which can run for hours unattended), washing + drying + curing adds another 20-60 minutes of hands-on work and waiting per batch — easy to forget when pricing a job.
How this affects your cost
Steps 4-7 are each a separate consumable (IPA, ultrasonic bath wear, UV-station electricity) and time that simply doesn't exist in FDM printing. 3D Print Pricing has dedicated warehouse shelves for resin, ultrasonic baths, and UV stations/lamps — they're costed the same way as the printer and filament, as their own line item instead of a rough add-on.
Calculate your price in a minute
Free calculator: part weight, print time, material price — no sign-up needed.
 App Store
 Google Play
 RuStore